Python Installation
Your professional conduct is greatly appreciated. Out of respect to your fellow workshop attendees and instructors, please arrive at your workshop on time, having pre-installed all necessary software and materials. This will likely take 15-20 minutes.
Before starting any of our Python workshops, it is necessary to complete 2 tasks. Please make sure both of these tasks are completed before you attend your workshop, as, depending on your internet speed, they may take a long time.
- download and unzip class materials
- download and install Anaconda Python 3 distribution

Troubleshooting session
We will hold a troubleshooting session during the 20 minutes prior to the start of the workshop. If you are unable to complete all of the tasks, please stop by the training room during this session. Once the workshop starts we will NOT be able to give you one-to-one assistance with troubleshooting installation problems. Likewise, if you arrive late, please do NOT expect one-to-one assistance for anything covered at the beginning of the workshop.
Materials
Download class materials for your workshop:
- Python Introduction: https://github.com/IQSS/dss-workshops/raw/master/Python/PythonIntro.zip
- Python Webscraping: https://github.com/IQSS/dss-workshops/raw/master/Python/PythonWebScrape.zip
Extract materials from the zipped directory (Right-click => Extract All on Windows, double-click on Mac) and move them to your desktop.
It will be useful when you view the above materials for you to see the different file extensions on your computer. Here are instructions for enabling this:
Software
The Anaconda Python distribution is designed with data Science in mind and contains a curated set of 270+ pre-installed Python packages.
Mac OS X:
- Install Anaconda Python 3 by downloading and running this .pkg file. Accept the defaults proposed by the Anaconda installer.
Windows:
- Install Anaconda Python 3 by downloading and running this .exe file. Accept the defaults proposed by the Anaconda installer.
Linux:
- Install Anaconda Python 3 by downloading and running this .sh file. Accept the defaults proposed by the Anaconda installer.
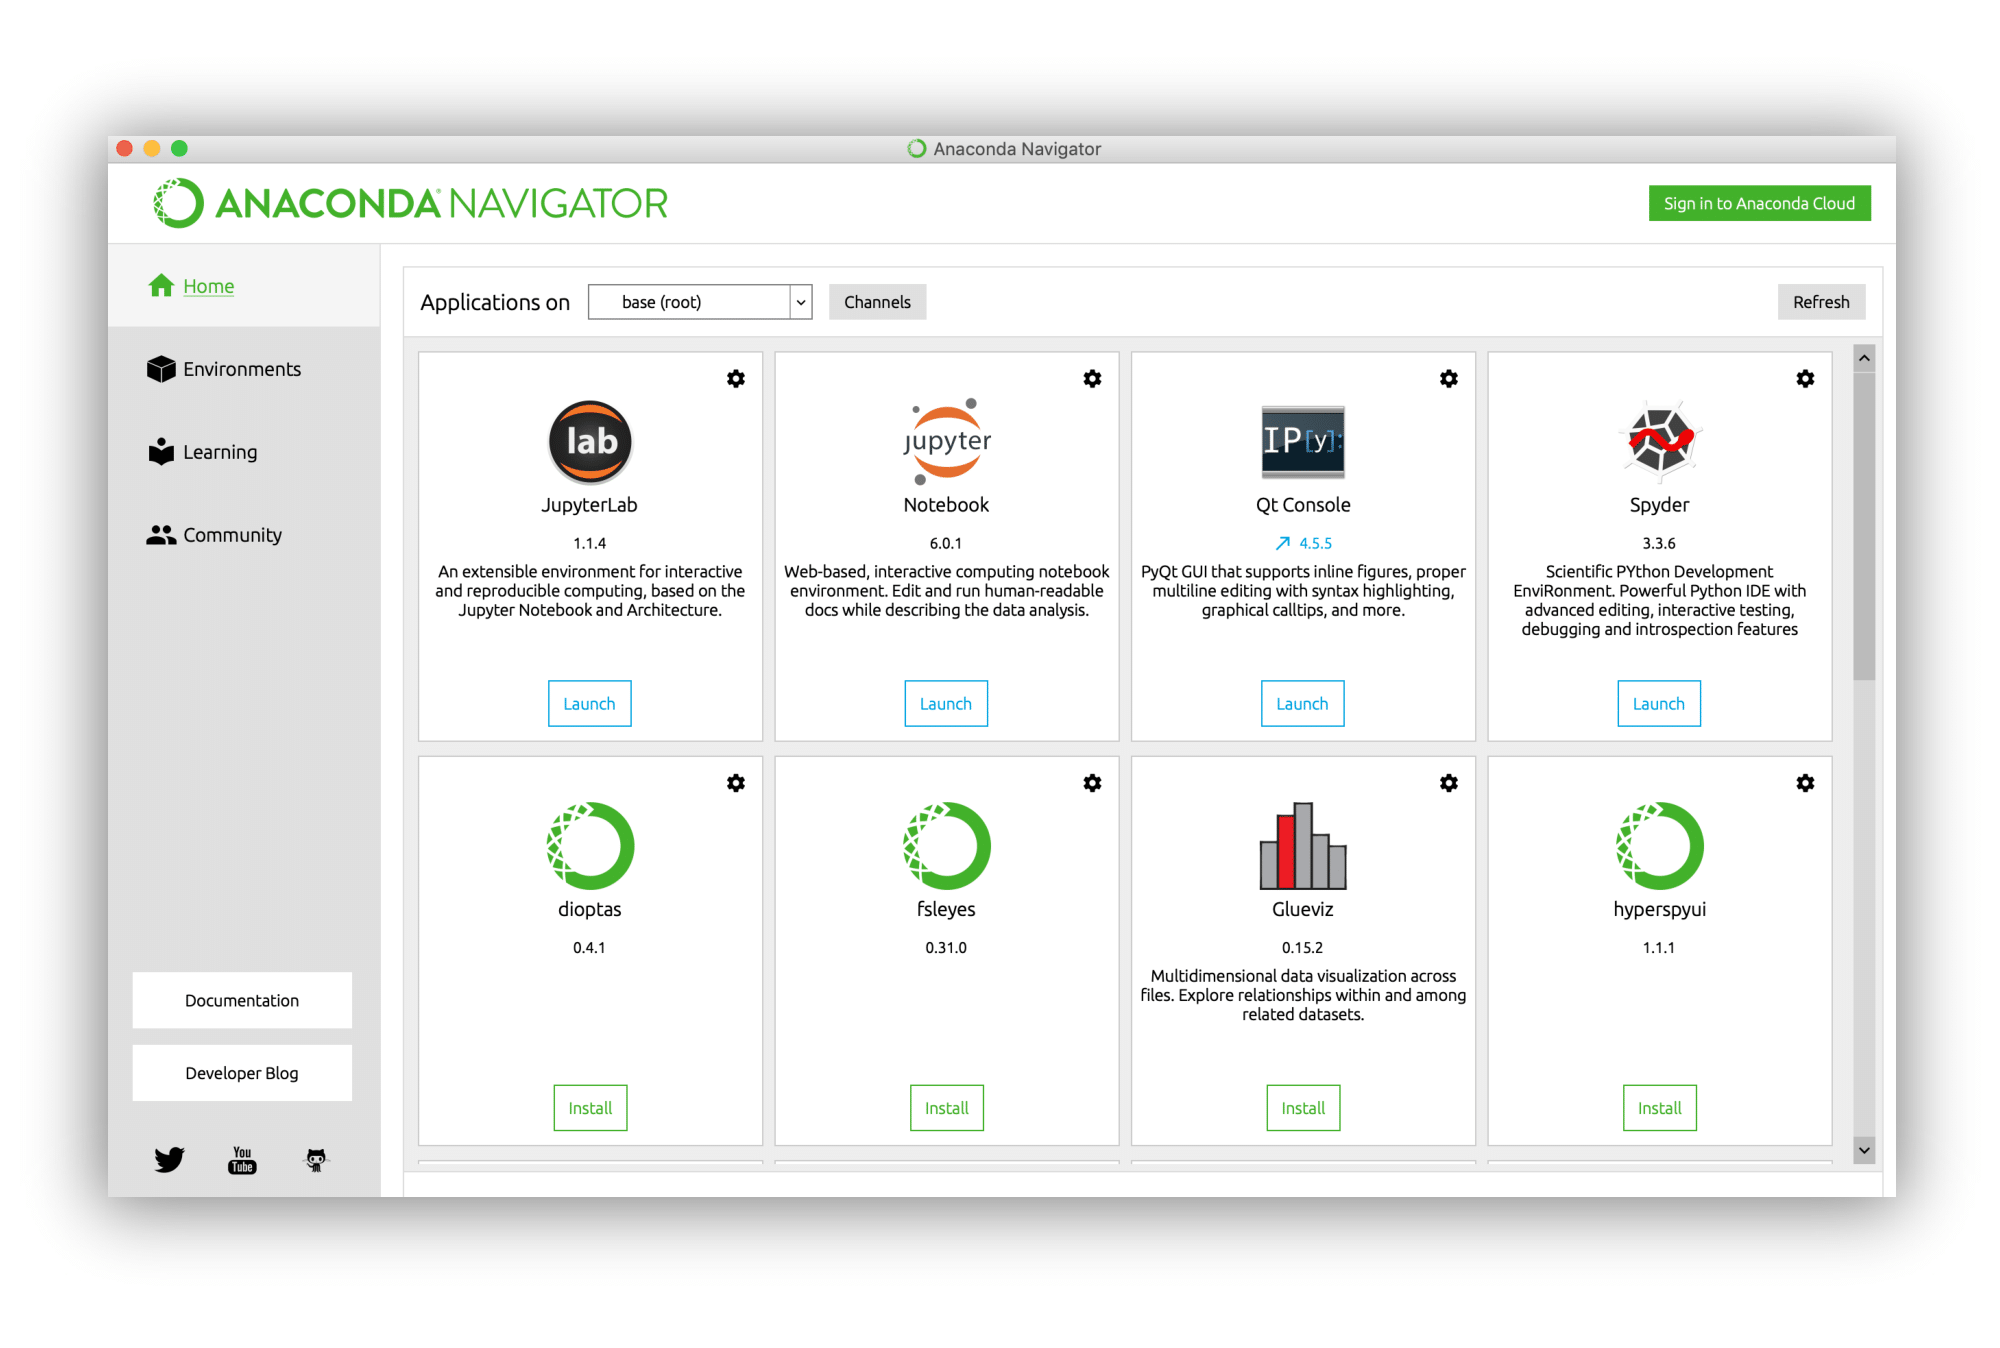
Success? After installing, please start the Anaconda Navigator program. If you were successful with the installation, you should see a window similar to this:

To check that the installation is working correctly, click the Launch button under JupyterLab. A JupyterLab window should open in your web browser.
If you are having any difficulties with the installation, please stop by the training room 20 minutes prior to the start of the workshop.
Jupyter notebook interfaces
We will be using Jupyter Notebooks to run our Python code. Jupyter Notebooks are documents that combine text, code, images, math, and rich media and can be viewed in a browser. There are two main ways to interact with Jupyter Notebooks:
- using JupyterLab, a modern “extensible environment for interactive and reproducible computing” that runs in your web browser.
- using Jupyter Notebook, an older browser-based application.
Compared to Jupyter Notebook, JupyterLab provides a more modern, richer and more robust coding environment. For this reason, we strongly recommend that you use JupyterLab to interact with notebooks.
Launch JupyterLab
Here’s how to start JupyterLab and open a notebook within this interface (recommended):
- Start the
Anaconda Navigatorprogram - Click the
Launchbutton underJupyterLab - A browser window will open with your computer’s files listed on the left hand side of the page. Navigate to the folder with the workshop materials that you downloaded to your desktop and double-click on the folder
- Within the workshop materials folder, double-click on the file with the word “BLANK” in the name (
*_BLANK.ipynb). (If a pop-up window asks you toSelect KernelchoosePython 3kernel.) The Jupyter Notebook should now open on the right hand side of the page.
If you have technical difficulty with JupyterLab you can try the older Jupyter Notebook as a fallback by clicking the Launch button under Jupyter Notebook in step 2.
Resources
- IQSS
- Workshops: https://dss.iq.harvard.edu/workshop-materials
- Data Science Services: https://dss.iq.harvard.edu/
- Research Computing Environment: https://iqss.github.io/dss-rce/
- HBS
- Research Computing Services workshops: https://training.rcs.hbs.org/workshops
- Other HBS RCS resources: https://training.rcs.hbs.org/workshop-materials
- RCS consulting email: mailto:research@hbs.edu